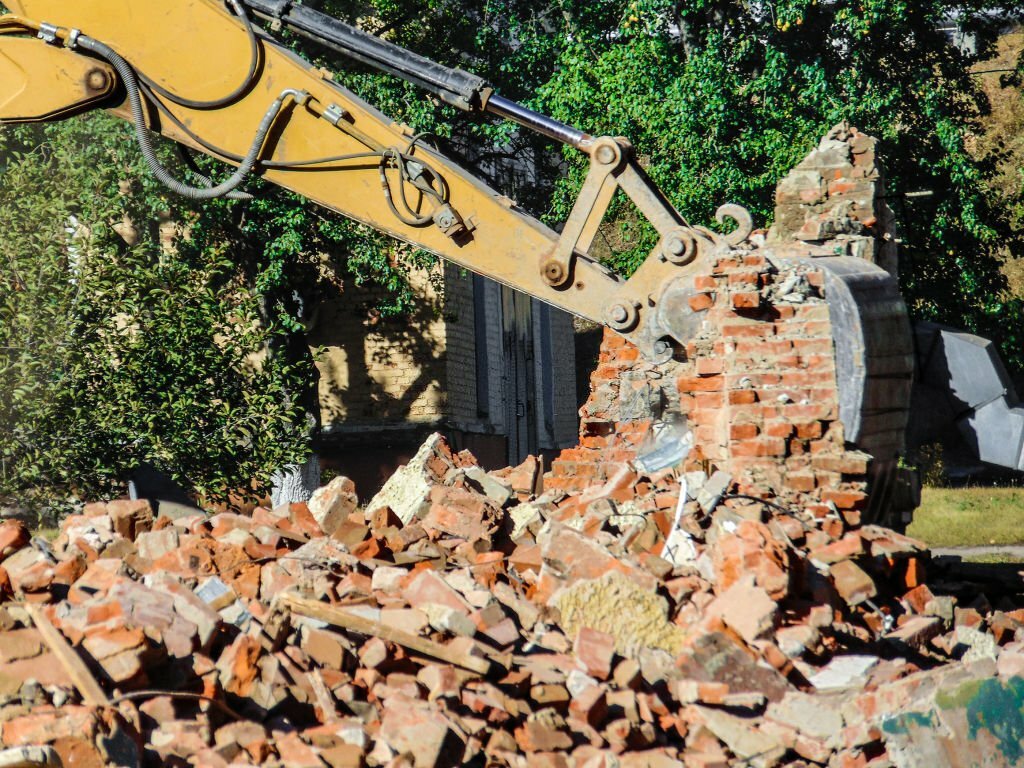
Brick removal and replacement can be complicated and labor-intensive, but it can be done effectively and efficiently with the right approach and knowledge. Whether you want to replace a damaged brick or change the appearance of your home or building, here is some expert advice to guide you through the process.

1. Assess the situation: Before starting any brick removal or replacement project, it is crucial to assess the condition of the bricks. Identify any damaged or cracked bricks that need to be replaced. Additionally, consider the mortar joints between the bricks. If they are deteriorating or crumbling, it may be necessary to repoint the entire wall.
2. Safety first: Brick removal can be physically demanding and potentially hazardous. Always wear appropriate safety gear, including gloves, safety glasses, and a dust mask to protect yourself from flying debris or dust. Use caution when working at heights, and consider using scaffolding or a ladder with proper safety precautions.
3. Tools and materials: To remove and replace bricks, you will need a few essential tools such as a chisel, bolster, brick hammer, brick trowel, and masonry saw. Additionally, ensure you have an ample supply of replacement bricks that closely match the existing ones in size, color, and texture. It is also important to have an appropriate type of mortar for the job.
4. Removing bricks: Start by removing the mortar around the damaged brick using a chisel and brick hammer. Be careful not to damage the surrounding bricks. Once the mortar is removed, gently tap the brick with a bolster and hammer to loosen it. Gradually work around the brick, applying pressure until it comes loose. If the brick is stubborn, you may need a masonry saw to cut through the mortar joints. Take your time and patience during this process to avoid causing further damage.
5. Cleaning and preparing the area: Clean the cavity and surrounding area thoroughly after removing the damaged brick. Remove any loose debris, mortar, or dust that may interfere with the new brick’s proper installation. Use a wire brush or a vacuum to ensure a clean and smooth surface.
6. Replacing bricks: Before installing the new brick, dampen the area with water to prevent excessive moisture absorption from the mortar. Apply a layer of mortar to the bottom and sides of the cavity using a trowel. Place the new brick carefully into the cavity, ensuring it sits level with the surrounding bricks. Use a jointer or pointing trowel to create a consistent mortar joint between the new brick and the existing ones. Remove any excess mortar immediately to maintain a clean finish.
7. Curing and maintenance: After replacing the brick, allow the mortar to cure for at least 24 hours before subjecting it to any stress or pressure. Keep the area moist by misting it with water periodically for the next few days to ensure proper curing. Once the mortar has fully cured, consider applying a protective sealant to the brickwork to prevent moisture penetration and prolong its lifespan.
8. Seek professional help if needed: While brick removal and replacement can be a DIY project, larger or more complex jobs may require professional assistance. If you need clarification on any aspect of the process or if the damage is extensive, it is best to consult a qualified masonry contractor who can provide expert advice and ensure a successful outcome.
In conclusion, brick removal and replacement require careful planning, the right tools, and a methodical approach. By following these expert tips, you can tackle the project confidently and achieve a quality result. Remember to prioritize safety, take your time, and seek professional help when necessary to ensure the best possible outcome.